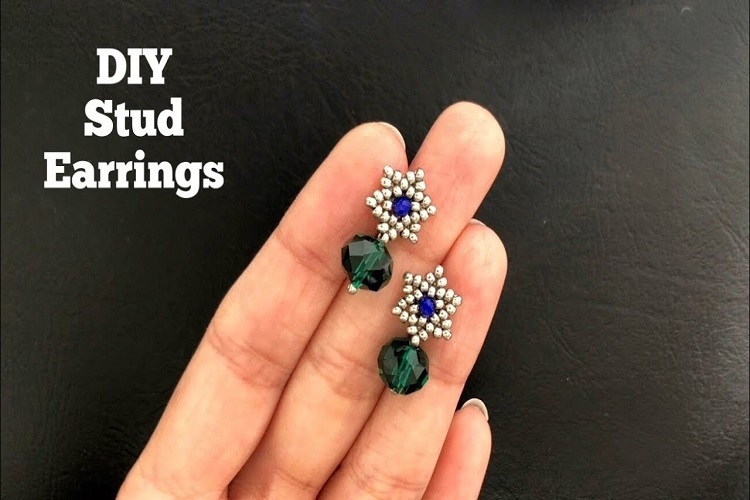
Who doesn’t adore stud earrings? In my opinion, you can never have too many pairs. Unfortunately, my college budget disagrees with me. Until recently, I’d been spending a pretty penny on stud earring pairs. Some are classic and versatile (i.e. total keepers), and others are cute, but because they are a bold color or have a unique pattern, I found that I can only wearing them with one to two outfits. I knew that at this rate, I would need to either (A) make more money, or (B) stop buying so many studs. I chose (C) buy bulk materials and make my own for less.
And I’ve been in stud heaven ever since!
Now I’m all about sharing the love, so here’s how to make your very own for less:
Table of Contents
WHAT YOU’LL NEED
1. Pieces of fabric. You can get a bunch of samples at your local fabric store. They usually have samples on display next to the real deals so you can take the samples home and make sure the pattern or color matches with your furniture, rugs, curtains, etc. I usually browse through the fabric section and see if there are any samples I like. Sometimes the store will have leftover pieces on sale. I buy some of those also and use them for projects like this. Grab (or buy!) any pattern or color that catches your eye.
2. Craft Cover Button Kit. You can get the kit in any size. I chose the size 36, or 7/8″, but they come in several sizes.
3. Ear posts
4. Hot glue gun or a good glue
5. Scissors
6. Something to trace with (pen or marker)
HOW TO MAKE YOUR DIY STUD EARRINGS
1. Following the directions on the back of the Craft Button Kit, you’ll use the the template to draw a circle on the fabric. Make sure that if you’re using a specific pattern, you focus the middle of the circle on the part you want showing on the front of the earring.
2. Cut around the circle.
3. Center the button shell on top of the fabric piece, both facing down.
4. Tuck the excess fabric into the shell, smoothing out any bumps and contouring it to the shape of the button shell.
5. Place a back without a shank (plain back) over the tucked fabric, and push down with the “pusher,” provided by the Craft Cover Button Kit.
Push until you hear a snap and see that all sides of the plain back are firmly in place.
6. Glue an earring backing to the back of the button.
Easy, right?
HOW MUCH
Fabric: Free-ish, depending on if you use samples or buy some leftover fabric. Leftover fabric isn’t usually expensive.
Craft Button Kit: $8 (This may seem a little pricy for a button kit, but mine came with 14 buttons and backs, which means I can make about 7 pairs of studs for a little over a buck a set. I guarantee you won’t find cuter and earrings like these from a dollar store!)
Other materials part of your basic starter kit.
So what do you think about these studs for every outfit? Give ‘em a try and let me know how they turn out!


